Schoology Groups
Why Use Groups?
Groups are an excellent way to connect with people locally and worldwide.
They can be used to connect, collaborate, share materials, learn “best practices,” and more.
There are so many different ways to use the Groups feature, they may become a vital part of your educational management.

With Schoology groups, managing the extracurricular and academic collaborative groups in your learning community (such as sports teams, drama productions, debating teams, the science faculty, the BoT, SLT teams etc.) is made both efficient and easy.
Courses vs. Groups
Courses
Schoology courses are the hub of learning in building a classroom community. This is where your instructional materials, assignments, notes, and quizzes/tests are housed, viewed, and completed by students.
Your courses will be set up for you. Whether you’re using Schoology or not, your students can see your course. If you gain new students throughout the year, they automatically get added to your course. If students withdraw, they are removed from the course. In addition, grades from Schoology can be synced with your PowerTeacher Pro gradebook..
Course features:
Add materials documents, websites, videos, links, textbooks, etc.
Add updates and reminders for students and parents
Assign, collect, and grade assignments which are uploaded to your Schoology gradebook.
Encourage student discussions
Groups
Unlike courses, groups are NOT created automatically for you. Groups are best used for PLC collaboration, athletic teams, academic teams, and extracurricular clubs and activities. You can add teachers/students manually to your group or provide them with a code.
Group features:
Add events to a calendar
Hold student discussion forums
Create photo albums
Add resources such as links, videos, PDF, etc.
Provide updates related to team/club information
Create polls for students to vote on team stuff.
Foster student discussion about the all non-academic stuff.(activities, officer elections, fundraisers, field trips, etc.)
*Note that within groups you will not be able to create assignments/assessments
How to Create a Group?
You can create a group from Groups in the top menu of your homepage. To create a group, follow these steps:
Click Groups at the top of Schoology.
Select My Groups.
Click Create Group on the right.
Fill out the Group form.
Write a Description (optional).
Set Privacy to customize who can view the group.
Set Access to customize who can join the group.
Click Create to finish.
Once you have created a group, you are now a Group Admin. In your Groups drop-down menu, groups you administer are marked by the shield icons.
How to Join a Group?
To join an existing Group:
Click Groups at the top of Schoology.
Select My Groups.
Click Join Group on the right.
Enter the Group Access Code.
Click Join.
The format of the group access code should be XXXXX-XXXXX (10 digits). Contact the group administrator for the access code.
Once you join a group, you will begin receiving updates, posts, comments, and event notifications from the group.
Recommended Groups to Join
Groups at MCS and your School
You can see all groups in which you are enrolled, as well as groups at MCS and your school, by clicking Groups, then My Groups on the right. Click the School Groups tab to see groups at your school.
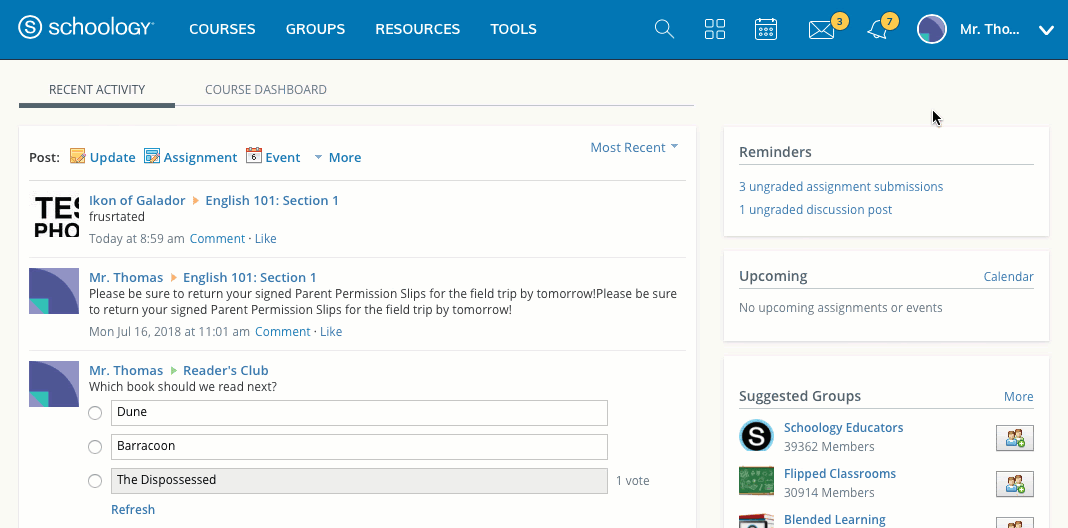
Schoology Public Groups
Schoology has also created open groups based on areas of study and teaching techniques. You can view and join the Schoology Public Groups by clicking the Public Groups tab.
Group Resources
Group Resources is an area for members to share files and links that pertain to their interests. One of the unique features of this area is that you may allow other members to add to the Resources section.
To allow members to add resources, follow these steps:
Click Groups in the top menu and select a group you administer.
Go to Group Options in the left menu of the group page and click Edit Privacy/Group Settings.
Use the Create Resources option to enable or disable this feature.
Click Save Changes to complete.
Technology Support Hotline for Teachers and Staff: (209) 574-8600 and Service Center Locations