Schoology Gradebook
Grading Categories
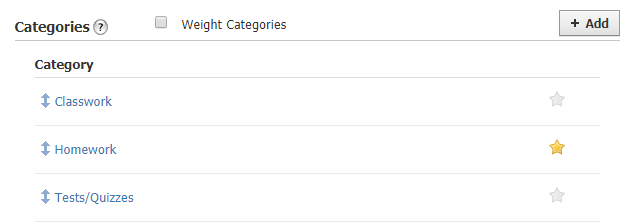
Grading Categories enable you to organize graded items in the course. At least one grading category is required in order for you to use the Gradebook. Common examples of categories include Classwork, Homework, or Quizzes. There is no limit to the number of categories you can create, and you can weight each according to your own definition.
To add a new category:
Click Add in the Categories area.
Enter a Name.
Click Create to complete.
Tip: Click the star icon to the right of one of your categories to mark it as your default category for newly-created materials.
To delete a category:
Hover over the category you'd like to delete and click x that appears to the right of the category.
If there are any course materials attached to the grading category, you will be prompted to assign another category to those materials before you can proceed to delete
Once the materials are attached to another grading category or there are no materials attached to the category, click Delete to complete.

Weight Grading Categories
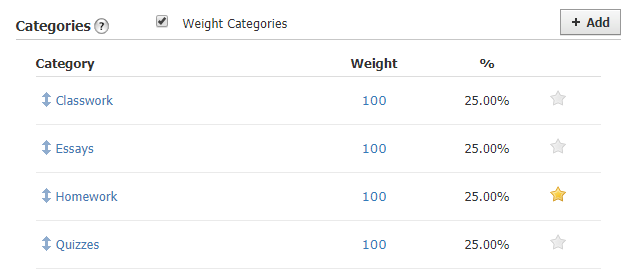
After you have created at least one category, you can choose to weight the categories for your course by checking Weight Categories.
Enabling weighted categories displays a new Weight field next to each Category name. Enter proportional values into these fields to adjust the weight for each category.
Important Notes:
Grading Categories cannot be changed throughout the course without impacting all grading periods of the course. For example, changing the grading category weights for the 2nd Quarter will also change the calculated grades in Quarter 1.
Weights are relative to each other. You can view the Category's actual percentage value of the next to the Weight field. For example, if Weight Categories is checked, and I have four categories with a weight of 100, the percentage of each category within the overall grade is 25%.
If one weighted category has no graded materials associated with it, then the category's weight is evenly distributed across the other categories.
Rubrics

Copy Settings
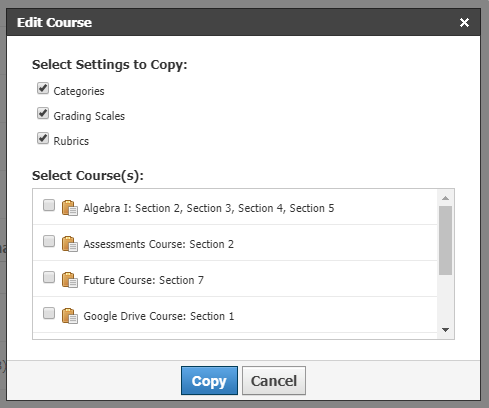
You can copy these settings to other courses you administer using the Copy Settings button.
Click Copy Settings in the upper right corner.
Choose to copy Categories, Grading Scales, Rubrics, or all three. Grading Periods and Final Grade Settings cannot be copied.
Select the course(s) to which you'd like to copy the grade settings. You can only copy to courses for which you are a Course Admin.
Click Copy to complete.
Using your Gradebook
View and Filter Items
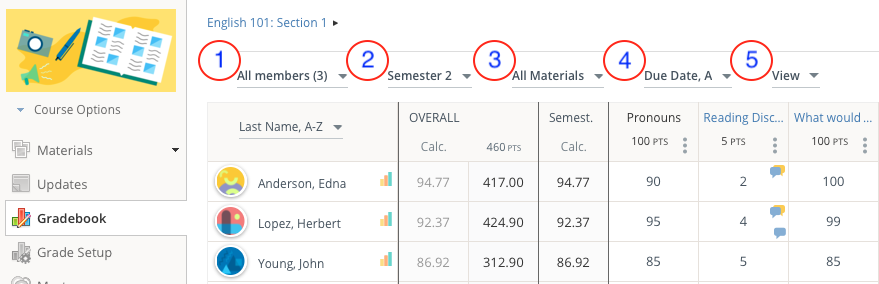
The set of menus available in the top row of your Gradebook provides flexible control over displaying content, creating new content, and setting various options.
Members Menus
Grading Period Menu
Categories Menu
Sort Materials Menu
View Menu
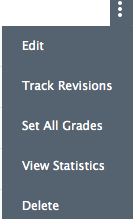
Edit Materials
Edit Grades
To edit grades directly from your Gradebook, click into the cell and add the new grade.
You can also use the tab or arrow keys to navigate your Gradebook. Using the Tab key moves your cursor down one row within the same column in the Gradebook. When you reach the end of the column, pressing Tab again moves the cursor to the top of the next column.
View Submissions
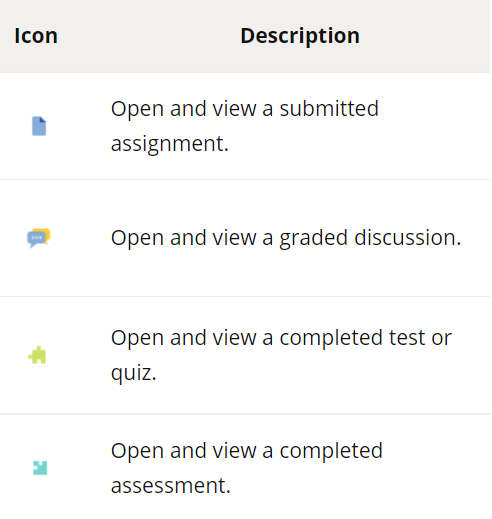
Instructors can open and view materials for individual student submissions directly from the Gradebook.
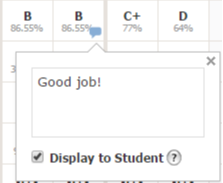
Add Comments
To leave a comment:
Hover your pointer over a cell and click the Comment icon:
Type your message in the pop-up window that displays.
Check the box to Display to Student (optional).
Your comment saves automatically; click the x in the upper-right of the pop-up to close the comment:
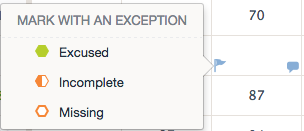
Mark Exceptions
You can add an exception to any Assignment, Discussion, Assessment, or Test/Quiz in your Schoology gradebook. To mark items as Excused, Incomplete, or Missing, point your mouse at the cell and click the flag that displays:
Neither Excused nor Incomplete exceptions factor into the student's overall grade in Schoology. From a calculation perspective, marking a gradebook cell as Excused or Incomplete is the same as leaving it blank. Applying either does not penalize students or affect their overall grade.
The Excused and Incomplete icons simply serve as a visual reminder to the course admin that the student has either been excused or their submission is incomplete, to help avoid later confusion as to why that cell for that student is blank or unscored.
Marking a cell as Missing, however, does penalize the student's grade. Giving a student a Missing flag is the calculation equivalent to giving the student a zero. Selecting the Missing exception also adds a zero score in the cell.
Using Exceptions with Overdue Items
Marking an overdue item Excused or Missing removes the item from a student's Overdue notifications. Marking an overdue item Incomplete does not remove the item from a student's Overdue notifications.
The following scenarios explain how teachers can use exceptions to grade missing submissions and how it affects Overdue notifications:
Teacher A is accepting late submissions but does not want the grade calculation to reflect the missing assignment, so they should use the Incomplete exception flag. This way the student will receive Overdue notifications and their grade is not impacted.
Teacher B is not accepting late submissions and wants the grade calculation to reflect the missing assignment, so they should use the Missing exception flag. This way the student will see the impact of the missing assignment on their grade and they will not receive Overdue notifications.
Teacher C is no longer accepting submissions for the assignment but does not want the grade calculation to reflect the missing assignment, so they should use the Excused exception flag. This way the student will not receive Overdue notifications and their grade is not impacted.
Using Exceptions with Student Completion Rules
You can use the Excused exception to bypass materials on which you have set up student completion requirements. For example, if a student is absent and makes up a required assignment with a different make-up project, or a student is new to class and doesn't need to start at the beginning of a folder with completion rules.
Will Exceptions sync over to my PowerTeacher Pro Gradebook?
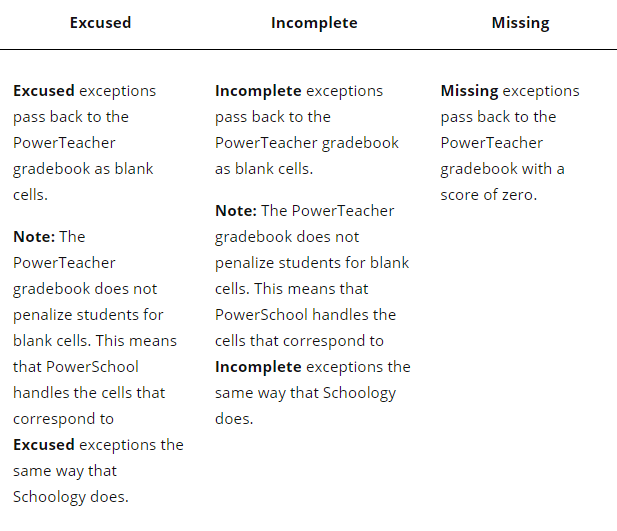
Removing Exceptions from the Gradebook
Technology Support Hotline for Teachers and Staff: (209) 574-8600 and Service Center Locations